Wednesday, November 12, 2014

Tofu-Mushroom Neatballs

Last week I was inspired to make Jason Wrobel's "neatball" recipe so that I could bring a warm dish to a potluck but I didn't have a lot of time to prepare.  This recipe is very simple to make since most ingredients are processed together quickly and then formed into balls and baked.  Here is the original video and recipe from JWro and my modified take below.  I did not have any prepared seitan on hand, so I used pressed tofu and mushrooms to give a meaty yet soft juicy texture.

Tofu-Mushroom Neatballs:

Ingredients: (makes about 24 balls)
1 package extra firm tofu - pressed and drained
1 cup mushrooms, finely chopped
3/4 cup white onion, diced
1/2 cup breadcrumbs (fine)
1/3 cup parsley, finely chopped
1/4 cup red wine
2 cloves finely chopped garlic
1-2 tbsp ground flax seed
1/2 tsp sea salt
1/4 tsp fine black pepper
1 tsp fresh thyme
1/2 tsp cayenne chili powder or chipotle powder
1/4 cup nutritional yeast (or more bread crumbs)
1 Tbsp veg brother (or oil) for saute

Method:
Preheat oven to 425F.  In a large mixing bowl, combine the tofu, breadcrumbs, parsly, chili powder, flax seed and nutritional yeast.  In a saucepan, dry saute (or use oil) the onions until they soften a bit and then add the garlic and thyme, salt and pepper.  Add the mushrooms and saute for about 5-minutes deglazing with the red wine.  When your onion mushroom mixture has released most of its water and well-carmelized, do a final deglaze with the remaining wine and then add to the bowl with the tofu mixture.  Mix with wet hands, form into balls and arrange on a baking sheet lined with parchment paper or silicone baking pad.  Bake for about 15-minutes at 425 and finish warming in a marinara sauce or 20-minutes for a firmer, drier texture.


These go great with JWro's mushroom gravy or a nice cheezy sauce and a side of mash and steamed greens.

Thursday, October 16, 2014

Recipe: Super Socca

Socca is a fantastic gluten-free bread to make when you're short on time and want something warm and bread-like in a flash.  You can make socca, or chickpea crepe bread in about 15 minutes.  The base recipe is very simple. It's basically ground up chickpeas and water.

Ingredients:
1-cup chickpea flour
1-cup of water*
pinch of himalayan salt
minced herbs of choice (Rosemary, Thyme and Chives are agreat)
(optional) high-heat baking oil

Prep:


  1. Place a seasoned* pizza stone or a large cast iron skillet upside-down in the top rack of your oven.       *If your stone or skillet is not well-seasoned you may want to rub some coconut oil to prevent sticking.
  2. Preheat your oven to 500deg F with the pizza stone in it.
  3. Make your socca batter by combining the ingredients except for the water in a large mixing bowl, gradually adding just enough water to make a pancake-like batter.  More water will make a thinner, lighter dough.  Less water will be firmer.
  4. At this point you can add your favorite herbs.
  5. Let batter rest for about 10 minutes.
  6. Carefully (use high-heat oven mits!) take the pizza stone out of the oven and slowly pour the batter in the center.  If your pizza stone is small, you may need to do this in two batches.  Only pour enough batter so that it does not run over the edge.
  7. Let bake for about 3-5 minutes.  It should start to puff up a bit as air pockets escape.
  8. Carefully remove the pizza stone from the oven and use a flat spatula to lift up the edges.  If it starts to fall apart, you may need to cook another minute until you can lift up the dough and flip it.
  9. Cook for another 1-min on the other side.
  10. Remove from oven and enjoy!  I like to use traditional pizza toppings like tomato and pesto and roll it up like a slice of Brooklyn tomato pie.


Super Socca Pizza Wrap:
Prepared socca, homemade pesto, fresh tomato slices and chives.

Friday, October 10, 2014

Recipe: Pumpkin Pie Kale Chips

The changing color of the leaves never fails to delight and surprise us.  As days get shorter and shorter, the trees and plants prepare for cooler weather by slowing down photosynthesis so they can store up energy for Winter.  The array of colors we see were in the leaves all along, just covered by the constant greening from photosynthesis.  This is a wonderful reminder that we too have within us a pallet of untapped energy, colors that make us shine if we remove barriers of bad habits and use our energy efficiently.
Another way plants respond to cooler temps is to store up their sugars.  This is why carrots and leafy greens like kale get especially sweet around Autumn.  Like the plants and trees, people benefit from storing energy and choosing foods that keep us nourished and warm in the fall.  I love making soups, stews and chili throughout the cooler months.  They can be comforting and also highly nutritious because you preserve more of the nutrients by consuming the broth that cooks them.  Until it gets very cold, I still try to get a fair amount of raw (especially calciferous) vegetables which have their living enzymes in tact.  However this gets more challenging in the Winter.  It takes a lot of energy to digest raw foods.  So one way that I ensure I still get my raw veggies in the cooler months is to make dehydrated crucifers.
Kale chips are easy to make and strike a good balance between raw nutrition and comforting taste.  A lot of kale chips have nuts in them, for example this wonderful cashew cheese sriracha version.  So if you are looking for a lighter snack, I like to make them with alternatives.  I've been playing around with winter squash and cooked sweet potato as another way to get creamy texture and sweet flavors. Recently I stumbled upon a Pumpkin kale recipe that I had to try.  The original recipe can be found over at Fragrant Vanilla Cake.  I made a few modifications but for the most part this is Amy's creation that I've borrowed from liberally.

No Oil Pumpkin Pie Kale Chips

Ingredients

2-bunches of kale
2-cups of pumpkin puree
4-ripe organic pears*, seeds removed
2-inches of ginger
1-tbsp pumpkin pie spice
2-tsp vanilla
filtered water as need

(*optional ingredients, if using nuts, omit the pears above)
2-tbsp maple syrup
3/4 cups soaked cashews


Process


  1. Gather your mise-en-place.  Once you get going, your hands are going to get sticky :-)
  2. Wash and dry your kale.
  3. Break kale into bit size pieces but don't worry about massaging yet, that comes later. Put into a LARGE mixing bowl.
  4. Set up either 2 to 4 dehydrator trays with parchment paper or 2 to 4 large cookie trays with parchment if using an oven*.
  5. *(If using the oven method) set your oven to the lowest temperature possible, 150-200 deg Fahrenheit will work best.
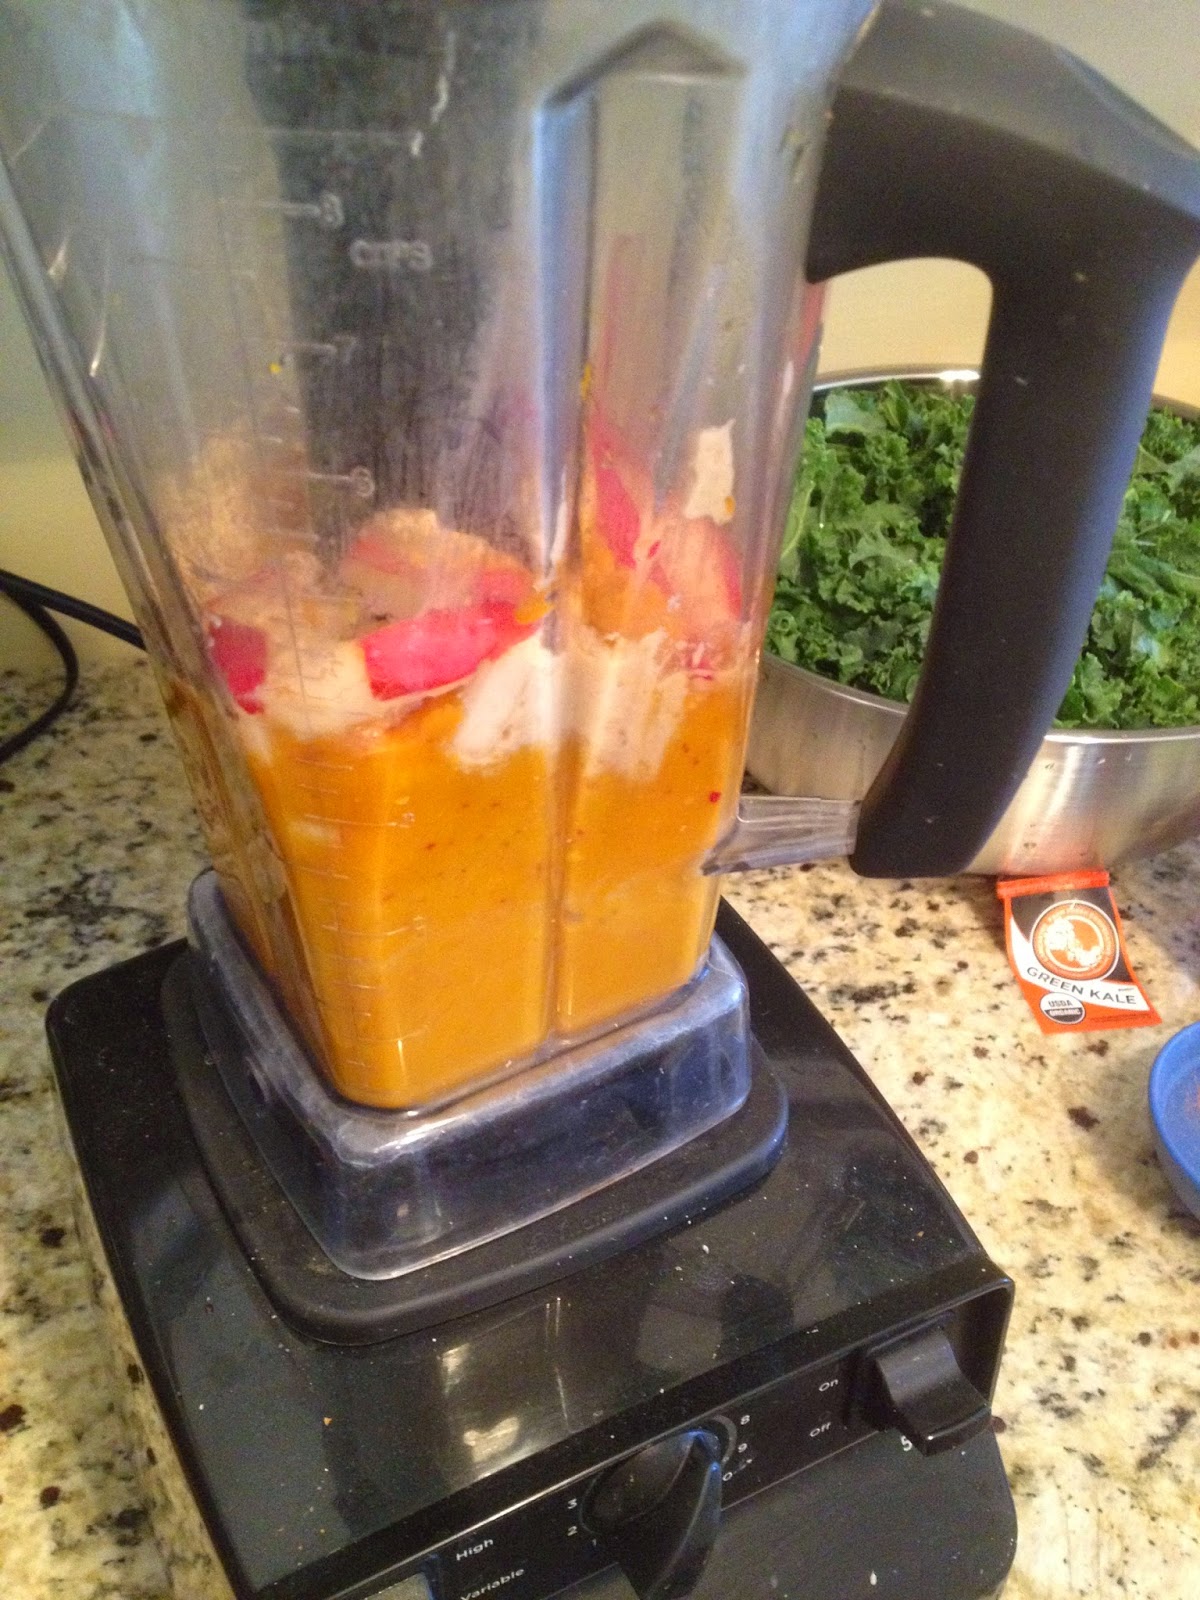
  6. Create the "pie dressing" by putting all remaining ingredients in a high powered blender.
  7. Blend, adding only as little water as you need to help get things moving.You want a creamy thick sauce without any visible chunks.
  8. Pour dressing over kale.

Sunday, October 5, 2014

Rise Power Plant Based Yogi Snacks

Today I had the pleasure of sharing post-yoga snacks at the grand opening of Rise Power Yoga in Princeton.  The owner of the studio, Annie, invited me to provide treats for hungry yogis after a two hour special class.  I'd never catered an event like this on my own but I was inspired to rise to the occasion ;-)  It was a special celebration and I am overjoyed to be a part of it.  Most of the yoga teachers that have gone on to start their own studios in the area have roots in the space that Rise occupies.  Today Annie shared how she first taught in Princeton years ago at this space that was Yoga Above and when it closed had a vision to breath new life and energy in this already vibrant community.

When I was asked to provide snacks after a yoga class, I thought I would make a trio of treats that provide quick nourishment and satisfy sweet, savory and salty cravings after a long-sweat in class:

I played around with the recipes but here are the inspirations:


I made two batches, one with added melted dark chocolate vanilla and chia seeds, the other with maca roots and vanilla sun warrior protein.

  • Raw Vegan Cookie Dough made into Truffles with Coconut, Cacao, Goji, and Traditional Chocolate Chip, inspired by Oh She Glow.
Using four batches as the base, I made four different kinds by rolling them in different toppings.  My favorite was a crumble I made from organic goji berries, muldenberries, golden berries and raw cacao, although I ran out of the vanilla coconut balls so that may have been an audience favorite.


  • Two kinds of kale chps.  One double batch of Pumpkin Spice Kale from the awesome Fragrant Vanilla Cake blog and  a double batch of my own standby super-yummy raw kale mixed with cashew cheez and sriracha.

I'll post the full recipes and process for each this week.  Thank you to all who came, hope you enjoyed the snacks and enjoyed yoga today :D


Tuesday, September 30, 2014

Traditional Style Plant-Based (Vegan) Brisket for Rosh Hashana

I am so grateful to celebrate Rosh Hashana this year with my family and friends, near and far, past and present -- like one big family...Jewish or not. It is a time for union, celebration, nourishing food and life affirmation.
In Jewish mysticism, there is a notion that every person is considered an "olam katan” – a little world. This notion is similar to one of the meanings of the sanskrit word used in yoga, "Namaste" – the word that teachers and students offer to each other at the end of a yoga class – one translation being “I honor the place in you in which the entire universe dwell."
In my family we honor this tradition by celebrating with friends and family for a plant-based feast.  Many our guests we invited are not Jewish, nor vegan so we thought about ways we could respect their needs and honor our plant-based tradition.  To this end, we decided to serve a veganized traditional Jewish brisket made from seitan and roasted root vegetables.

Vegan traditional bbq "brisket" with roasted root vegetables
(Makes one large brisket to feed 12 hungry people)
Ingredients:
3  cups vita wheat gluten flour
1/2 cup nutritional yeast
2 tbsp onion granules
1 1/2 tbsp garlic granules
1/4 cup dried shiitake mushroom powder (dried mushrooms ground in a spice grinder)
2 tsp chipotle powder
1 cup tomato paste
1/3 cup maple syrup
1 1/2 cup marsala wine
2 tsp vegan worcestershire sauce
1 tsp liquid smoke
2 1/2 tbsp apple cider vinegar
1/2 cup tamari
4 cups vegetable stock
4 cups root vegetables (I use parsnips, carrots, sweet potatoes), cut into bite sized pieces

Preparation:
  1. Preheat oven to 375 F.
  2. Prepare the Seitan Base by mixing the wheat gluten flour, nutritional yeast, onion granules, garlic granules, mushroom powder and chipotle powder in a large mixing bowl.
  3. In a blender, add all remaining ingredients and blend.  This will be the braising liquid for the roast.
  4. Make well in the seitan mix by hollowing out an area in the center of the bowl (it should look like an inverse volcano).
  5. Slowly pour in about half of the braising liquid while mixing to combine. You want to use just enough liquid to make a wet dough that you can kneed without feeling sticky or loose.
  6. Dust a bit of flour on a cutting board,
  7. Form the mixture into a dough and transfer to the cutting board or surface where you can kneed the dough. Kneed until it feels firm and shape into a roast.
  8. Place the roast into a roasting pan big enough to hold the dough and vegetables.
  9. Pour braising liquid over the roast until it is mostly covered.
  10. Add your vegetables around the roast, they should also be mostly submerged so add more liquid if needed.
  11. Bake in the oven for 30-45 min until the dough feels firm to touch and starts to form a glaze.
  12. Flip the roast over and bake another 15-minutes.  Use a spoon to pour some of the braising liquid on top of the roast each time you flip.  Add more braising liquid if it starts to run low.
  13. Continue to flip over and then bake for another 15-minutes per side until the braising liquid is reduced to a thick sauce. It may take up to two hours.
  14. When done, remove from oven and let cool.
  15. Slice into thin strips to resemble traditional brisket, pour remaining liquid/glaze and vegetables over the sliced roast.


Happy New Year!

Monday, September 22, 2014

To Soak or Not to Soak

Beans have become a mainstay of my plant-based diet.  Every Sunday I make a big batch that I can use as a base recipe all week long.  Black beans, chickpeas, adzuki, cannelloni, fava...I have no favorite, I love them all.  Beans are nutritional powerhouses, rich in protein and vitamins and flavor but I used to think they were a nuisance to make.  It wasn't until I got my InstantPot, a combo pressure cooker, that I started making beans in batches.  Cooking beans without pressure seemed to take forever, or I would just resort to canned beans.  I tried presoaking beans overnight or quick-soaking, which does reduce cooking time but only by about 25%.  With pressure, however, it takes the cooking time of your average bean from 1-2 hours down to 20-30 minutes.
Recently I began to wonder...if pressure cooking is so efficient at cooking beans, is soaking is really necessary at all?  Searching the interwebs, I see there are many debates on this topic, and the science does not seem settled (whether it's healthier to soak or not, nutritionally) either.
On the pro-soak-side, soaking is thought to remove water soluble starch sugars that can block digestion. Some argue that these compounds called phytates are also what cause flatulence.  So it would seem this is a good thing.
"The soaking of black beans in water has always found fairly widespread support in food science research as a way of improving overall black bean benefits."
That is according to the site, World Healthiest Foods, which seems to provide a fairly reliable source of nutrition information.  So removing phytates, which block digestion of other nutrients is good.  But I found other evidence on the other side discussing how we are leaching more nutrients by soaking. Food science writer Harold S. McGee wrote in a book called On Food and Cooking:
"...during soaking many nutrients leach out of the beans. Apparently heat breaks down cell membranes within the beans, and increases the solubility of water-soluble nutrients, such as calcium, magnesium, thiamine, riboflavin, and niacin. As a result, soaking tends to leach somewhat more of the nutrients out of the beans than do slow soaking methods."
pre-soaked pressure cooked black beans
So we should keep the soaking the liquid if we want to maximize all the nutrients. Ok, but I thought we should discard the soaking liquid because it has those digestion blocking phytates.  Hmph.  The more I looked for answers, the more questions they seemed to raise.  Then there is the all important question: which tastes better?

not soaked pressure cooked black beans
On this one, I can say I think I found a winner.  I used to always pre-soak my beans overnight.  Now I don't bother if I'm going to pressure cook them.  I use a small piece of kombu to help neutralize the phytates, a pinch of salt for flavor and I also found that they definitely taste a lot better.  I was amazed at the difference and I was skeptical even after reading this thorough taste test.  In my own kitchen experiment, I concur that the texture and flavor of the non-soaked black beans is superior to that of soaked.
Do you soak your beans?

Thursday, September 18, 2014

Paleo Pffft... Real Warriors Eat Potatoes (and Other Starches)

Dr. John McDougal joins the long list of food critics, ethnologists and plant-based doctors who think the Paleo Diet phenomenon is completely misguided.  He appeared on the Plant Based Dietician's show to talk about the diet that we know warrior civilizations actually ate.  It turns out, counter to what the paleolithic purveyors claim, we don't really know a lot about what actual paleolithic ancestors ate -- in part because their diets would have had to vary by region. However we do know a
image courtesy of PlantBasedGuerilla 
lot about the diets of civilizations that have survived. And real warriors definitely eat potatoes, rice, corn and other starches.

All large populations of trim, healthy people, throughout verifiable human history, have obtained the bulk of their calories from starch. Examples of once-thriving people include Japanese, Chinese, and other Asians eating sweet potatoes, buckwheat, and/or rice; Incas in South America eating potatoes; Mayans and Aztecs in Central America eating corn; and Egyptians in the Middle East eating wheat.  (excerpt from McDougal's paper on Paleo)

McDougal does a thorough job skewing some of the claims of Paleo, because he thinks it perpetuates the low-carb craze that has been shown time and again to be unhealthy.  I do agree with him, but I also think there's a lot to like about Paleo.  If Paleo to you means eating less packaged foods, sugar and overly processed foodlike substances, that's fantastic.  My hope is to get away from labels like vegan, low-card, paelo and focus on what we (and science) can all agree on.  Eating more whole plant foods should not be a diet, it should be a lifestyle for healthy civilizations.